In this article I will show how simple is it to code in PHP a 2-step authentication for your application thanks to the Google Authenticator application for your smartphone.
Requirements
You will need Composer for your computer and the Google Authenticator application on your smartphone.
Coding
Let’s start! Create an empty directory, and put this simple composer file inside.
Open a terminal in the directory you just created and run
Now you have the famous vendor directory with the package that we need. You can view it on GitHub here: https://github.com/mauroveron/laravel-google-authenticator.
Let’s create our main file. We are not going to code a entire connection system, I will just show you how you can code a 2-step authentication system. The user will have to download the Google Authenticator application, scan a barcode and then he will have a 6 digits code every 30 seconds from the application. You will ask for this code if he has previously entered his password successfully.
Put this file in the same directory.
If you want to test this code, run this command from your terminal:
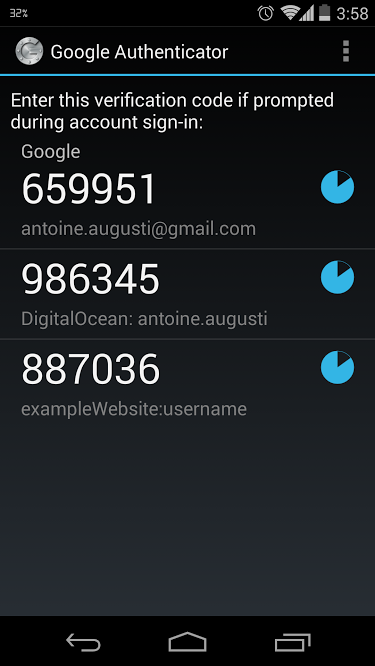
Open your browser, go to http://localhost:8080, scan the barcode from the Google Authenticator application and refresh the page. The current code (given by the website) should follow what is written on your phone. You should have something like this in your Google Authenticator app.
Conclusion
And… That’s it! You know how to generate a secret key for a user, the barcode associated with it and you have a function to check if the user has entered the right code. Of course you will have some work to do if you want to implement it into your website: you will have to explain to your users how to install the app, how to scan the barcode, to save their secret key in your users table and add a step to your login process.
But it’s not so difficult 🙂